Microsoft Entra Authentication
Set up is divided into three parts:
App Registration
At the beginning app registration should be set up on Azure Portal.
Here are the steps:
- Login to Azure Portal:

- Go to the Microsoft Entra ID:

- Open App Registrations and use New Registration action:

Specify App Name and Account Type.
Specify Platform as Web and Redirect URI as: https://businesscentral.dynamics.com/OAuthLanding.html.
Go to the Certificates and Secrets, generate a new secret and copy the value to the notepad:

- Open API Permissions then use Add a permission action:

- Select Dynamics 365 Business Central API and Application Permissions:


- Select API.ReadWrite.All and Automation.ReadWrite.All and use Add permissions action:

- Grant admin consent:

ICI Endpoint Card
Create new ICI Endpoint Card or update already created one and follow the next steps:
Specify No.
Specify Description.
Specify Authentication Method as Microsoft Entra.
Specify Web Service Address - Web service address of company exchanging documents.
Open Overview tab in Microsoft Entra ID and copy Application (Client) ID:

Then switch to the ICI Endpoint Card and paste into Client ID field:

- Open Certificates and Secrets tab in Microsoft Entra ID and copy Client Secret Value:

Switch to the Business Central then open ICI Endpoint Card and paste in the Client Secret field:

- Copy Tenant ID from URL:

- Paste on the ICI Endpoint Card into Tenant ID field:

Microsoft Entra Application Card
Last step is set up Microsoft Entra Application Card. It's used to define what permission should be granted by Registration App to the AIC.
Go to the Microsoft Entra Application Card and create new one.
Paste Client ID from Microsoft Entra in the Client ID field:

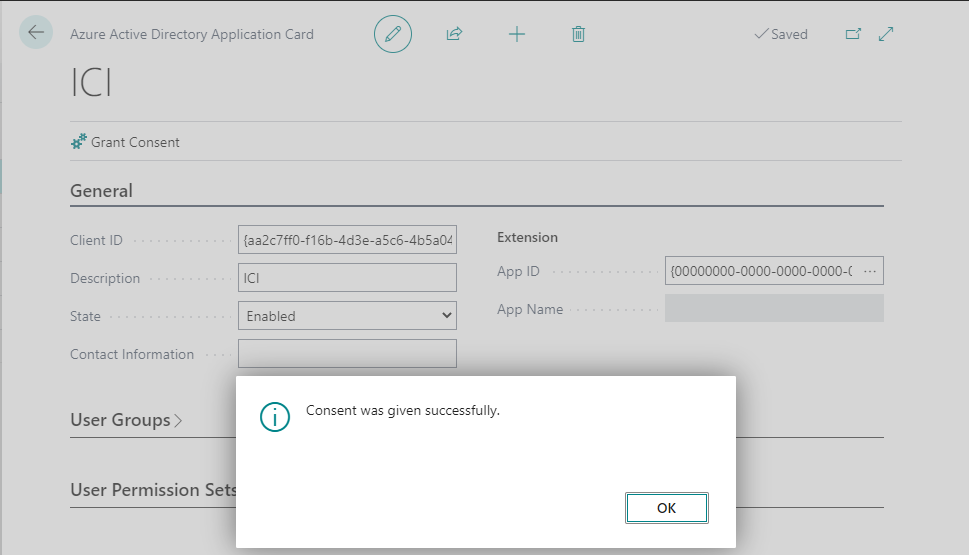
- Then use Grant Consent action and login to your Microsoft account. As the result following message should appear:
- User Groups or directly Permission Sets should be assigned:

Finally to verify set up Test Connection action can be used:

